
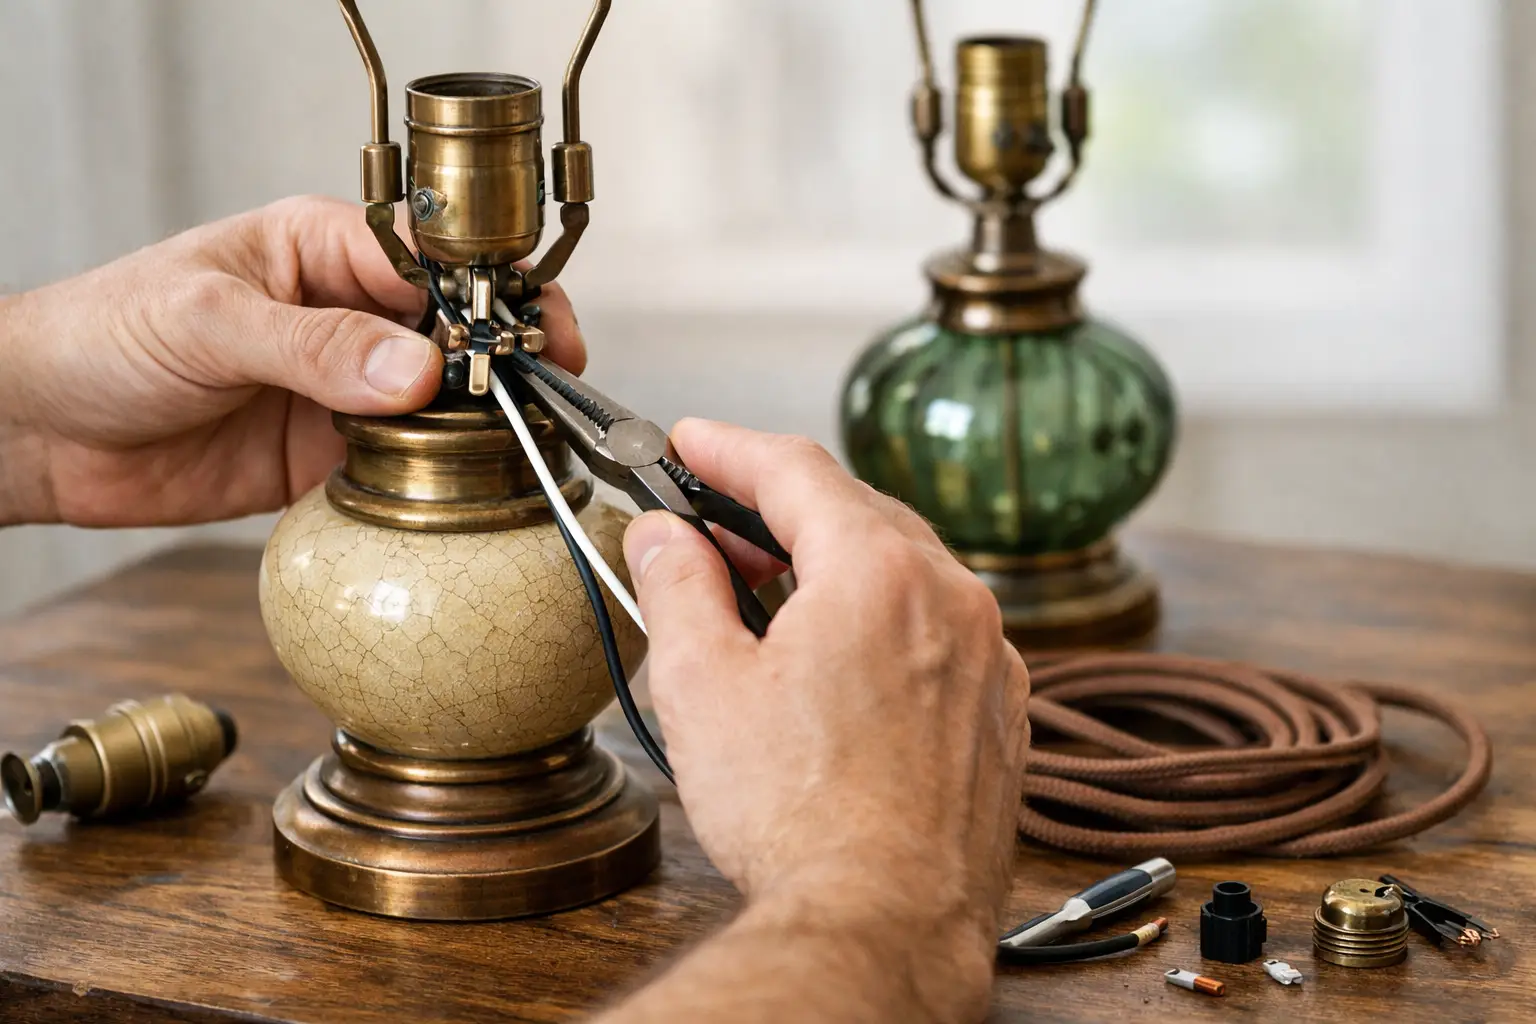
A finely patinated brass table lamp, a Murano glass base, or a sculptural 1970s floor lamp can change the entire register of a room. Learning how to rewire vintage lamps is not simply a technical repair: it is a careful act of preservation. The goal is to make an older piece dependable for daily use without replacing the details that give it provenance, proportion, and visual authority.
Electrical components age even when a lamp has spent decades in a quiet corner. Cloth-covered wire can become brittle, insulation may crack beneath a seemingly intact cord, and sockets can loosen or corrode. Rewiring restores function, but the best work remains visually discreet. A vintage lamp should look like itself when the light comes on.
Begin with an honest assessment
Before buying components or opening the socket, examine the lamp as an object. Photograph it from every angle, including the underside, the cord entry point, the socket, switches, labels, and any maker’s marks. These images are useful both as a reference during reassembly and as part of the piece’s record, particularly for collectible Italian lighting, Art Deco fixtures, or lamps with signed glass.
Unplug the lamp before touching any electrical part. Then inspect the cord along its full length. Fraying fabric, stiffness, discoloration, exposed conductor, electrical tape repairs, or a plug that feels loose all indicate replacement is necessary. A lamp that flickers, runs unusually hot, smells of scorching, or trips a breaker should not be tested again until assessed by a qualified lamp repair professional.
Look beyond the wiring. Check that the base is stable, the threaded rod is secure, and the socket sits straight. On a ceramic, alabaster, or Murano glass lamp, movement at the neck can place stress on the material itself. A new cord cannot compensate for a compromised structure.
Decide what should remain original
Not every old electrical component deserves preservation. The cord, plug, socket interior, switch mechanism, and insulation are functional parts with a limited service life. Replacing them is usually the responsible choice. The visible socket shell, finial, shade harp, cable exit, and period-style plug may be worth retaining if they are sound and appropriate to the lamp.
This distinction matters. An original brass socket shell with a worn but beautiful finish can often be cleaned and fitted over a new socket interior. By contrast, a cracked Bakelite socket or a visibly deteriorated plug is not a decorative detail to protect at all costs. Safety has priority, especially in a lamp that will be used regularly.
Consider where the piece will live. A lamp intended for an occasional accent table may justify a more historically faithful cloth cord and a low-wattage LED bulb. A reading lamp used every evening needs a higher standard of practical performance: a reliable switch, correctly rated socket, stable shade arrangement, and components suited to sustained use.
Materials for rewiring a vintage lamp
Choose components that suit both the lamp and the electrical standard in your home. For a typical U.S. table lamp, use a polarized two-wire cord for a non-metal lamp body, or a three-wire grounded cord when the lamp has exposed metal parts that require grounding. Grounding is not optional simply because it changes the appearance of an old cord.
A restrained material list is usually enough:
- A lamp cord rated for the fixture and intended use, in black, brown, gold, clear, or period-appropriate cloth covering
- A socket rated for the bulb wattage, preferably with an integrated switch if the original design calls for one
- A polarized plug or grounded plug that matches the cord configuration
- A strain-relief bushing to protect the cord where it enters the base
- Wire strippers, a small screwdriver, needle-nose pliers, and a continuity tester
For most decorative lamps, modern LED bulbs are the considerate choice. They reduce heat near silk shades, painted finishes, parchment, and older adhesives. Their low energy use also allows a vintage fixture to create atmosphere without asking more of its materials than necessary.
Do not assume that a lamp found in Europe is ready for U.S. current. A 220-240V fitting may need a complete conversion, and the original socket may not accept American bulbs. Fixtures with multiple arms, integrated transformers, dimmers, or unusual switching systems need more than a basic cord replacement. Those are appropriate cases for a licensed electrician or specialist lighting restorer.
How to rewire vintage lamps step by step
The process is straightforward only when the lamp’s construction is straightforward. Work slowly, keep the parts in order, and stop if the wiring route is unclear.
Remove the old cord and socket
Take off the shade, harp, bulb, and finial. Unscrew the socket shell to expose the interior. Before disconnecting wires, note which terminal each wire reaches. On a polarized cord, the ribbed or marked conductor connects to the silver-colored screw, known as neutral. The smooth conductor connects to the brass-colored screw, known as hot.
If the lamp is grounded, the green wire connects to the green grounding screw or to the designated grounded metal body connection. Never cut off a ground wire to make a new cord fit an old opening. The opening should be adapted properly, or the work should be passed to a professional.
Loosen the terminal screws and remove the old wire. Pull the old cord out through the base. If it resists, do not force it through a delicate glass or ceramic body. Some lamps contain internal sleeves, sharp edges, or narrow channels that need patient handling.
Thread and prepare the new cord
Feed the new cord from the bottom of the lamp toward the socket. Install the strain relief at the entry point before connecting anything. This small component prevents a tug on the cord from pulling wires loose inside the socket, a common and avoidable failure in older lamps.
Separate the two conductors by about two inches and strip only enough insulation to make the terminal connection, generally around one-half inch. Twist each exposed conductor neatly. Tie an underwriter’s knot if the socket design permits it. This knot provides additional strain relief within the socket and keeps the wire arrangement orderly.
Avoid oversized cord. A heavy cord can look out of scale on an elegant Murano bedside lamp, while a very fine decorative cord may be unsuitable for a substantial metal floor lamp. The visual line of the cable is part of the object, especially when it crosses a wall, floor, or console in plain sight.
Connect the socket correctly
Form each stripped wire into a clockwise hook and place it around its terminal screw. Tightening the screw clockwise draws the hook inward rather than pushing it out. Connect the marked conductor to silver, the smooth conductor to brass, and the green conductor to ground when applicable. No loose strands should extend beyond the terminal.
Reassemble the socket, taking care not to pinch insulation or twist the wires. Ensure that the socket shell is firmly seated, then fit the harp and shade. The shade should sit level and remain sufficiently clear of the bulb. With older shades, use an LED bulb of modest output and check for heat after the first period of use.
Test before placing the lamp in service
A continuity tester can confirm that each path is correctly connected and that there is no unintended connection between hot, neutral, and ground. This is a small step with significant value. Once the lamp is assembled, plug it into a protected outlet and switch it on while observing from a short distance.
The light should operate consistently, without flickering, buzzing, heat at the plug, or odor. Test the switch several times and gently move the cord near the base and socket. Any interruption suggests a loose connection or stressed wire. Unplug the lamp immediately and revisit the assembly.
For lamps with a metal body, grounding and polarity deserve particular attention. If you are uncertain about either, do not rely on visual inspection alone. A professional bench test is modest compared with the value of a rare design piece or the risk of an electrical fault.
Preserve the finish while improving the function
Rewiring is an opportunity to clean, not to erase history. Use a dry soft brush or barely damp cloth around brass, lacquered metal, painted surfaces, and glass. Avoid aggressive polishing on aged brass or chrome unless a bright finish is genuinely part of the intended look. Patina often gives a vintage lamp its depth.
Keep any original components that have been removed, especially labeled sockets, old plugs, and maker-marked parts. Store them in a small envelope with the lamp’s documentation. For collectors, this creates a clear record of a sympathetic restoration rather than an anonymous alteration.
A successfully rewired lamp carries its age with confidence while meeting the expectations of a contemporary interior. Let the cord, socket, and bulb do their work quietly. What should remain visible is the glass, the silhouette, the material, and the unmistakable presence that made the piece worth choosing in the first place.