
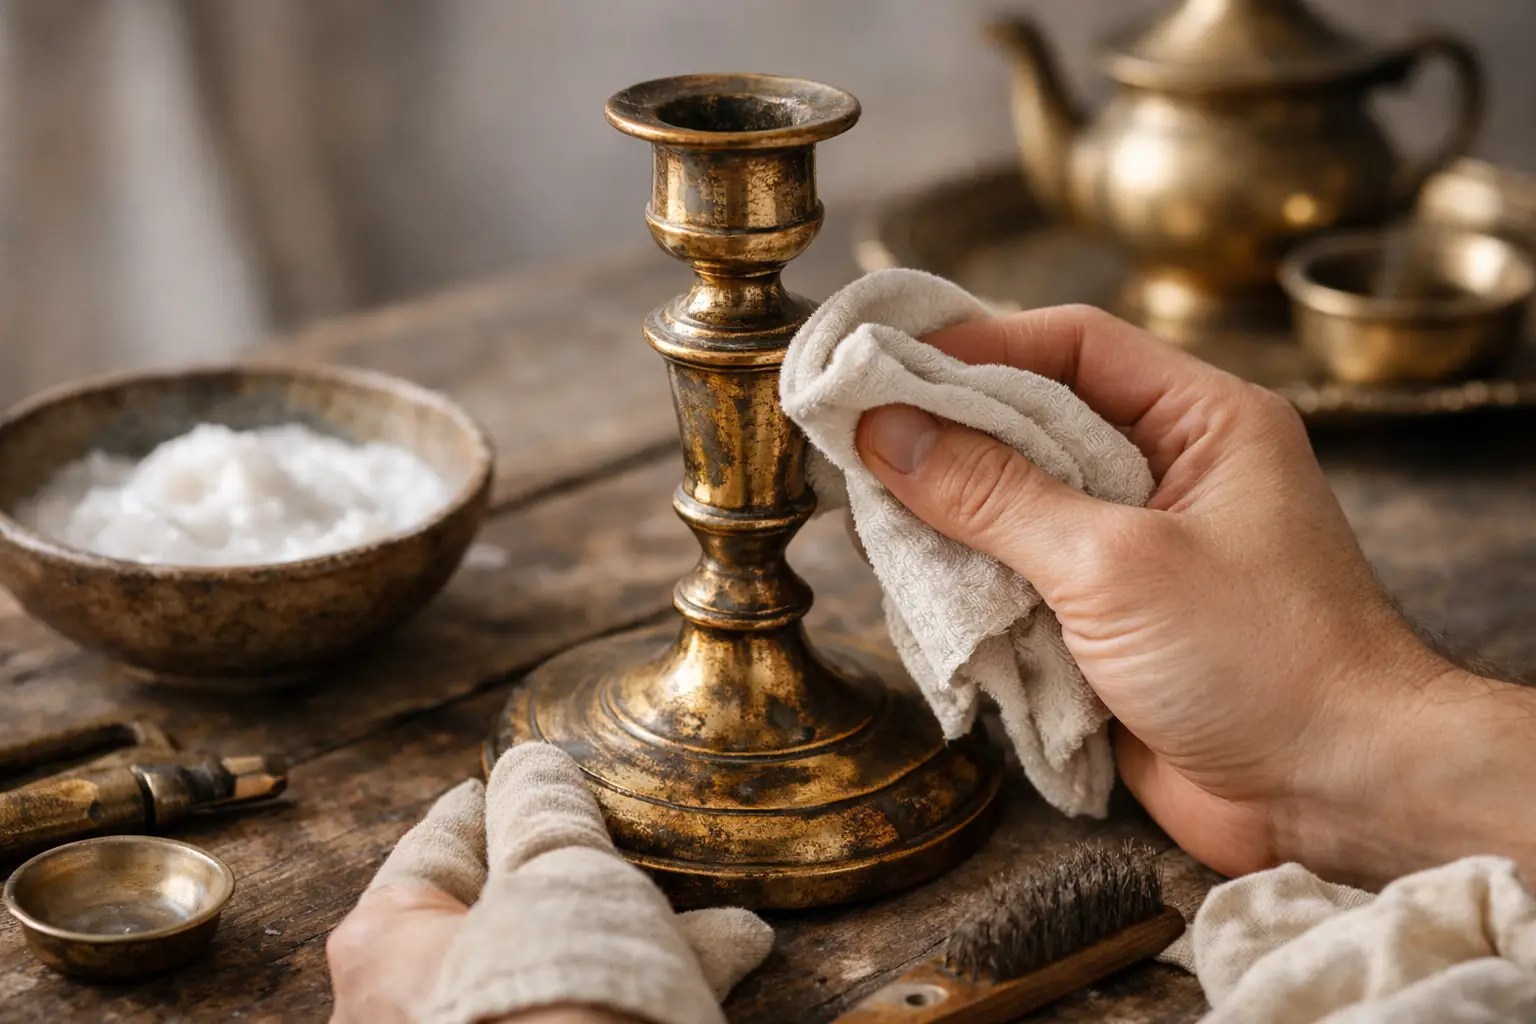
A vintage brass object rarely needs to look newly made. The right question is not how to make it shine at any cost, but how to clean vintage brass while preserving the depth, detail, and quiet character that made the piece worth choosing in the first place.
A 1930s Art Deco lamp, a Mid-Century wall sconce, or an ornate Italian mirror frame can carry decades of handling, air, wax, and oxidation. Some of that surface change is dirt. Some is patina – the mellow, nuanced finish that gives brass its visual authority. Knowing the difference is the foundation of proper care.
First, Decide What Should Stay
Brass is an alloy, generally composed of copper and zinc. Its warm gold tone shifts over time as it reacts with oxygen, moisture, and the materials around it. The result may be a soft honey color, brown shading in recessed areas, or occasional greenish oxidation. On a vintage piece, these variations are often part of its appeal rather than a defect to correct.
Before cleaning, look at the object in good daylight. Is the surface evenly dark and attractive, with a settled tone that suits its age? That is likely desirable patina. Is there greasy residue, dust lodged around decoration, white polish buildup, fingerprints, or isolated dull spots? Those are usually signs that gentle cleaning will improve the piece without making it feel over-restored.
This distinction matters especially for lighting. Brass fittings, gallery rails, decorative arms, and switch details were often designed to catch light through contrast. Polishing every recessed area to the same bright finish can flatten an original composition and make a period lamp look conspicuously recent.
Identify Solid Brass, Plated Brass, and Lacquered Surfaces
The safest method depends on what is beneath the surface. A small magnet is a useful first check: solid brass is not magnetic, while a magnet may adhere to a steel or iron base beneath brass plating. This is not definitive, but it offers a clue.
Look closely at worn edges, screw holes, and corners. If a different gray or silvery metal appears beneath the gold surface, the object is plated. Treat plated brass with particular restraint. Vigorous rubbing can cut through a very thin brass layer, an irreversible loss that no polish can disguise.
Some twentieth-century pieces were also protected with clear lacquer. Lacquered brass often has an even, slightly sealed appearance and may show flaking, crazing, or cloudy patches as the coating ages. Do not use metal polish on an intact lacquered finish. Polish can dull the coating or create uneven glossy areas. If the lacquer is failing, professional assessment is preferable, particularly for a valuable designer piece or a complex lighting fixture.
How to Clean Vintage Brass: Start With the Mildest Method
For most solid, unlacquered brass objects, a soft dry cleaning is the correct first intervention. Use a clean microfiber cloth or a soft natural-bristle brush to remove loose dust. A small artist’s brush is particularly effective around chased decoration, knurled knobs, rosettes, and narrow gaps in lamp hardware.
If the object still looks grimy, make a mild cleaning solution with a few drops of gentle dish soap in lukewarm water. Dampen, rather than soak, a soft cloth and wipe in small sections. Follow immediately with a second cloth lightly dampened with plain water, then dry the brass thoroughly with a fresh towel.
Water should never sit on vintage brass. It can collect inside seams, under decorative mounts, and around fasteners, where it encourages corrosion. For a candlestick or drawer pull, this is manageable. For a chandelier, sconce, or table lamp, avoid wet cleaning near electrical components entirely. Disconnect the fixture from power and keep moisture away from sockets, wiring, switches, and joints.
Often, this modest process is enough. Removing surface soil lets the real color of the metal return without stripping the patina that gives it dimension.
Treat Stubborn Residue Locally
Adhesive remnants, old wax, and persistent grime sometimes remain after soap and water. Work on these areas only, rather than escalating the treatment across the entire object. A cotton swab slightly moistened with mineral spirits can help lift greasy residue from solid, unlacquered brass, but test it first in a hidden location.
Use a light touch and change swabs frequently. Never flood the surface, and do not use this method on lacquered brass, painted details, porous inlays, glued elements, or fixtures with exposed electrical parts. When an object combines brass with Murano glass, wood, leather, enamel, or fabric shades, each material requires its own care. Cleaning the brass aggressively at the expense of its neighboring materials is not preservation.
When Polish Is Appropriate
Polish is a finishing tool, not a default cleaning product. It is appropriate when solid unlacquered brass has unattractive tarnish, when the original design clearly calls for a brighter reflective surface, or when a previously polished object has become patchy and requires careful visual balancing.
Choose a reputable non-abrasive brass polish and apply the smallest possible amount to a soft cloth, not directly to the object. Work on a discreet test spot first. Rub gently, following the grain or direction of the metal where visible, and stop once the desired brightness appears. Buff with a separate clean cloth.
Avoid polishing engraved backgrounds, deep ornament, stamped marks, and crevices. Darker metal in these areas creates definition. Removing it can erase the visual rhythm of an Art Nouveau floral motif or the crisp geometry of an Art Deco border.
Household remedies such as lemon juice, vinegar, salt, ketchup, and baking soda are often suggested for brass. They can produce an immediate shine, but they are a poor match for collectible objects. Acids and abrasives can leave an uneven surface, lodge in detail, alter a restrained antique finish, or accelerate future tarnish if not fully removed. Their low cost is outweighed by their lack of control.
The Particular Risks of Vintage Lighting
Vintage brass lighting deserves a slower approach because it is both decorative and functional. Before any cleaning, unplug a portable lamp or shut off power at the breaker for a hardwired fixture. Remove bulbs and shades if this can be done safely, and photograph the arrangement of washers, finials, and small fittings before disassembly.
Clean exterior brass components with a dry cloth first. If a damp cloth is necessary, use it sparingly and keep it well away from sockets and wire entry points. Never immerse lamp parts, spray cleaner directly onto a fixture, or allow polish to enter threaded openings. Polish residue inside a socket or joint is difficult to remove and can compromise safe operation.
If a lamp has brittle insulation, loose arms, unstable wiring, or green corrosion around electrical connections, cosmetic cleaning should wait. A qualified restorer or electrician can address function before the surface is refined. Original brass is valuable, but so is the integrity of the fixture.
Green Verdigris, Dark Spots, and When to Stop
Green corrosion, often called verdigris, deserves attention because active deposits can spread in damp conditions. A tiny amount in a crevice may be stable and visually appropriate on an old object. Powdery, bright green buildup near joints, screws, or wiring is different and should be removed cautiously.
Use a dry wooden toothpick or soft brush to lift loose deposits without scratching the metal. For anything extensive, especially on a rare object, seek conservation advice rather than reaching for a chemical cleaner. The same restraint applies to black spotting, pitting, and red-toned areas where copper content may be showing through. These are not always removable, and attempts to erase them can create a larger, more obvious scar.
A piece with a desirable aged finish may need nothing more than dusting and stable storage. Keep brass away from prolonged humidity, avoid storing it in damp basements, and handle it with clean dry hands. For frequently touched hardware or decorative objects, a soft cloth after use helps reduce fingerprints and skin oils.
Preserve the Finish That Belongs to the Piece
There is no universal finish that every vintage brass object should have. A polished 1970s Italian table lamp may suit a luminous, sculptural interior. A darker brass wall light may look more convincing with its original mellow oxidation intact. Context, period, material, and provenance all matter.
At Sound Of Vintage Italy, the distinction is central to the way a selected object is understood: age is not something to be scrubbed away, but a layer of its decorative identity. Clean with precision, polish only with a clear visual reason, and leave enough of the past visible for the brass to retain its voice.